An online invoicing system helps businesses create, send, and manage invoices digitally. Instead of relying on paper documents or manual spreadsheets, online invoicing tools automate much of the billing process, saving time and reducing errors. This guide explains how to use an online invoicing system effectively, especially for small businesses and freelancers.
What Is an Online Invoicing System?
An online invoicing system is a web-based platform or software that allows businesses to generate invoices electronically. These systems typically include features such as invoice templates, automated calculations, payment tracking, and digital payment options. Many systems also store invoices securely in the cloud, making them accessible from anywhere.
Using an online invoicing system simplifies billing and provides better visibility into cash flow and outstanding payments.
Benefits of Using an Online Invoicing System
Before learning how to use one, it is important to understand the advantages:
Faster invoice creation and delivery
Reduced manual errors in calculations
Easier tracking of paid and unpaid invoices
Improved professionalism and branding
Secure recordkeeping for accounting and taxes
These benefits make online invoicing especially useful for growing businesses.
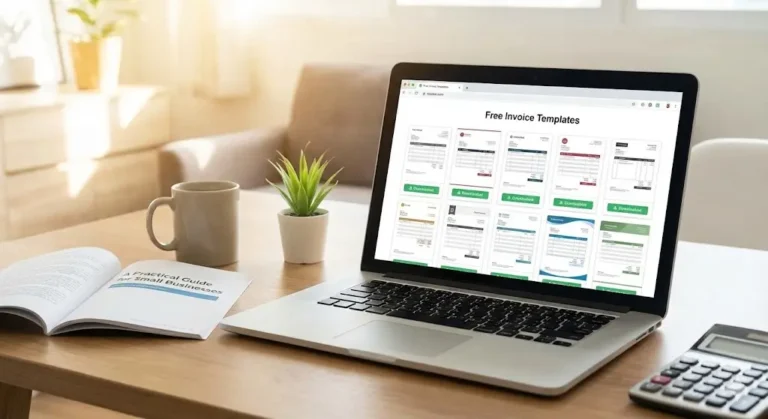
Step 1: Choose the Right Invoicing System
Start by selecting an invoicing system that fits your business needs. When comparing options, consider:
Ease of use
Customizable invoice templates
Payment method integrations
Reporting and tracking features
Scalability as your business grows
Some platforms are designed for freelancers, while others support larger teams and recurring billing.
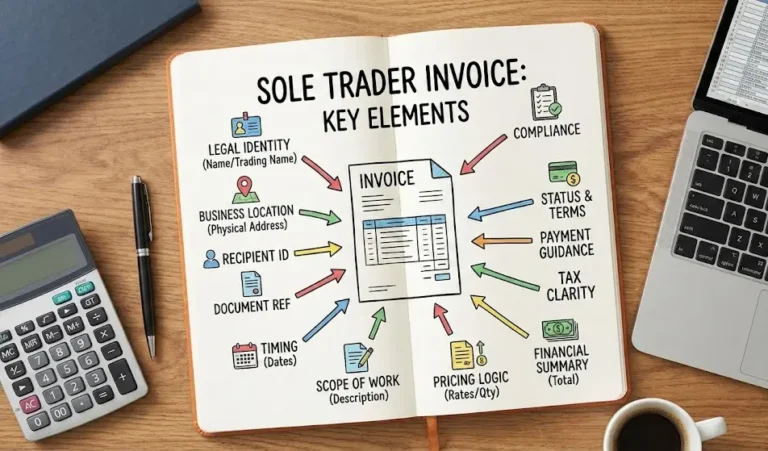
Step 2: Set Up Your Business Profile
Once you create an account, set up your business information. This usually includes:
Business name
Logo
Address and contact details
Tax identification numbers (if applicable)
Adding accurate details ensures every invoice looks professional and complies with legal requirements.
Step 3: Add Client Information
Most online invoicing systems allow you to save client profiles. For each client, enter:
Client or company name
Billing address
Email address
Preferred payment method
Saving client information reduces repetitive data entry and helps prevent mistakes.
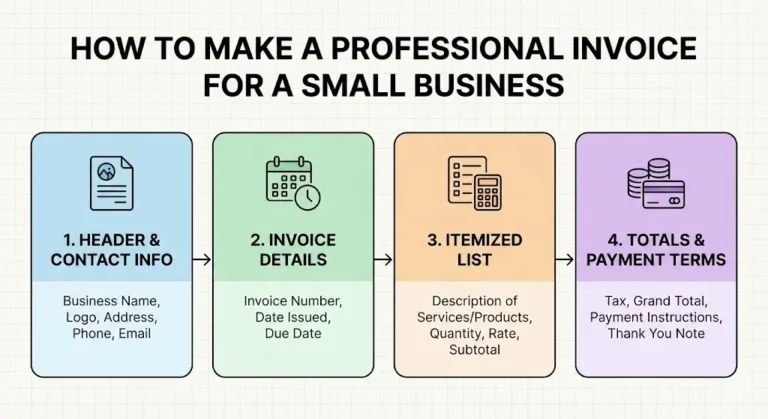
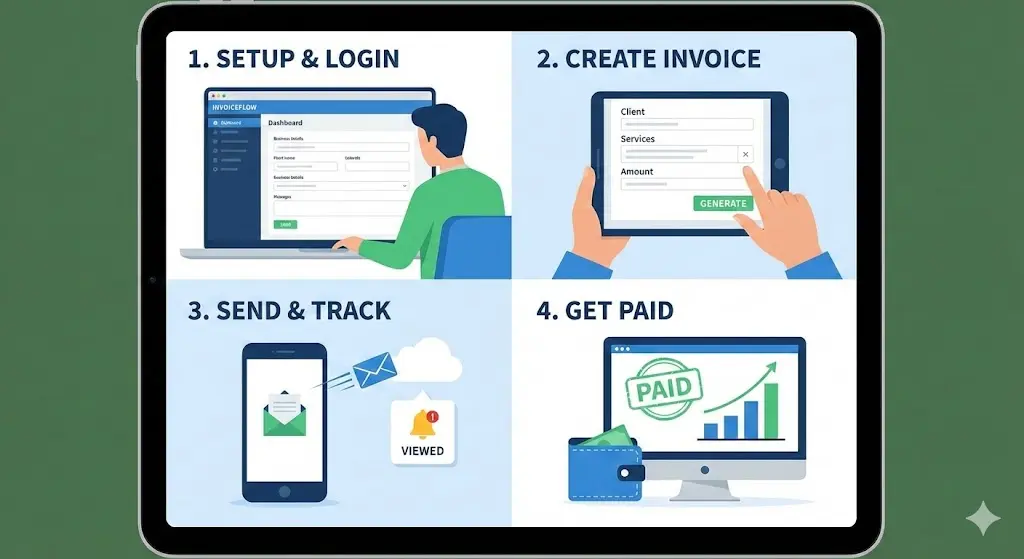
Step 4: Create an Invoice
To create an invoice, select a template and fill in the required fields:
Invoice number (often generated automatically)
Invoice date and due date
Description of goods or services
Quantity, rate, and total amount
The system automatically calculates totals and taxes, reducing calculation errors.
Step 5: Customize Invoice Details
Online invoicing systems allow customization to match your brand and policies. You can:
Add notes or payment instructions
Set payment terms (such as net 15 or net 30)
Include late payment fees if applicable
Clear customization improves communication and sets expectations for clients.
Step 6: Send the Invoice Digitally
After reviewing the invoice, send it directly through the system. Most platforms deliver invoices via email and provide a downloadable PDF. Digital delivery ensures faster receipt and reduces the risk of lost invoices.
Some systems also notify you when a client views the invoice.
Step 7: Accept Online Payments
Many invoicing systems integrate with payment gateways. Clients can pay directly through the invoice using options such as:
Credit or debit cards
Bank transfers
Digital wallets
Offering online payments increases convenience and often leads to faster payments.
Step 8: Track Invoice Status
Online invoicing systems show the status of each invoice, such as:
Sent
Viewed
Paid
Overdue
This real-time tracking helps you manage cash flow and follow up on unpaid invoices promptly.
Step 9: Send Payment Reminders
Most systems allow automated or manual reminders for overdue invoices. Polite reminders help maintain professional relationships while improving payment collection.
Step 10: Store and Manage Records
Search past invoices
Generate financial reports
Prepare for tax filing
Secure digital storage reduces paperwork and improves organization.
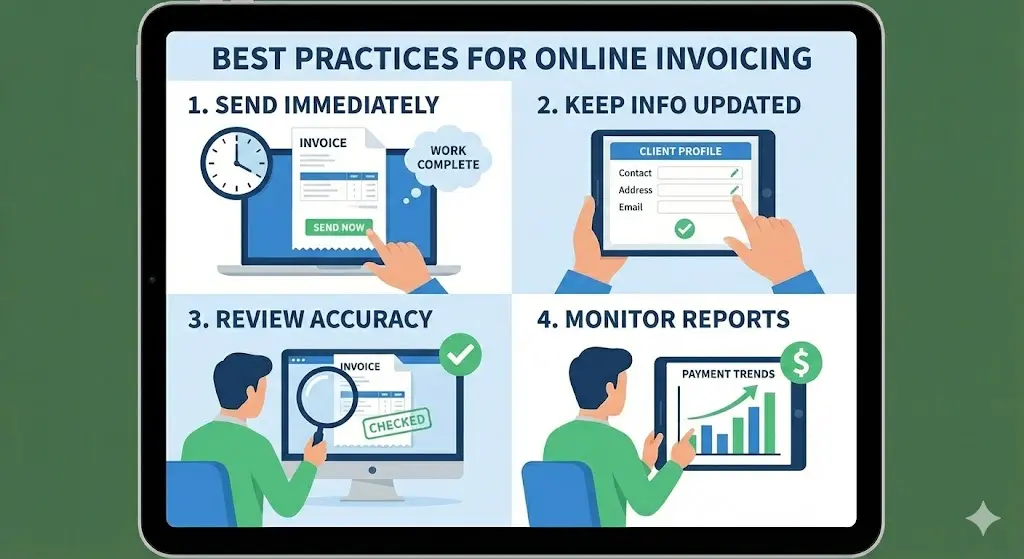
Best Practices for Using Online Invoicing Systems
To get the most value from an online invoicing system:
Send invoices immediately after completing work
Keep client information updated
Review invoices for accuracy before sending
Monitor reports to understand payment trends
Conclusion
Using an online invoicing system simplifies billing, improves accuracy, and enhances professionalism. By setting up your business profile, creating clear invoices, accepting online payments, and tracking invoice status, you can manage your finances more efficiently. For modern businesses, online invoicing is a practical and effective solution for staying organized and getting paid on time.